Better Vault for Postgres access in my Home Lab

In my previous post on Vault, I showed how Hashicorp’s Vault can be used to protect important passwords, static passwords that don’t change frequently. Vault can do much more than this and can even automatically create temporary accounts and rotate passwords for database users.

Today, I’m using long-lived passwords that I generate once when I add a new service, I, along with most people, just insert those passwords into the environment like this:

1
2
3
4
5
6
spec:
  containers:
	- env:
		- name: DATABASE_URL
		  value: >-
			postgresql://username:mypassword@postgres:5432/database

That’s not secure at all. While you can store them in Kubernetes Secrets, they’re not encrypted by default. Kubernetes can encrypt secrets, but they’re open to anybody with access to the cluster. The passwords are easily accessible to anybody with access to Kubernetes and are never rotated. This simply won’t do. In this post, I’m going to walk through how I switch to Vault for

Vault natively supports Postgres and can either maintain the password for a single Postgres role and rotate the password periodically (called static), or generate a new role for every single Pod that runs (dynamic.) With static, I have to go into DataGrip and create a role and setup the permissions manually, but dynamically should be able to create it all for me.

If you haven’t already created a Database backend, create one (Vault docs) using the UI or the API. Add a connection to your database. Make sure to use a privileged user with the ability to create users. I just use the postgres super user account.

I can’t figure out dynamic roles

Dynamic roles in postgres were confusing. I couldn’t figure out how to grant privileges in a given database. I was able to create my user with the following creation statements, but no matter what I tried it

1
2
3
4
create user "{{name}}" with encrypted password '{{password}}' valid until '{{expiration}}';
grant connect on database openwebui to "{{name}}";
GRANT SELECT ON ALL TABLES IN SCHEMA public TO "{{name}}";
grant all on database openwebui to "{{name}}";

It would grant CONNECT to the db:

But this was insufficient to actually connect to the database and create/edit tables. Apparently Postgres configures the database at the connection level and does not allow me to grant this.

1
2
[2025-09-08 22:28:17] openwebui.public> select * from chat
[2025-09-08 22:28:17] [42501] ERROR: permission denied for table chat

Use a role

Looks like I can’t avoid pre-configuring the roles with Postgres. First, create a new role and grant it all appropriate privileges on the database:

1
2
3
4
5
-- On openwebui.public
create role "openwebui-role";
grant connect on database openwebui to "openwebui-role";
grant create, usage ON schema public to "openwebui-role";
grant all privileges on all tables in schema public TO "openwebui-role";

Bring it all together

Then create a Vault dynamic user like so:

  • Role Name: Whatever you want or namespace/serviceaccount. This naming convention will be important if you’re following my guide
  • Connection Name: Your PGSQL connection
  • Type of Role: dynamic
  • Creation Statements
1
2
create user "{{name}}" with encrypted password '{{password}}' in role "openwebui-role" valid until '{{expiration}}';
alter user "{{name}}" set role = "openwebui-role";

Now, if I click “Generate credentials” in Vault, I should get credentials that I login using DataGroup and view/edit table table.

Create a Vault Policy

So far, we’ve just created a secret that Vault can return, but our Kubernetes services can’t access these credentials, so we need to create a policy that allows a Vault user to access this Vault secret.

My previous approach of creating a new Kubernetes role and custom policy for every single Kubernetes service was become onerous. I want the ability to be able to add a new service to Vault without having to go through this work. If only services could automatically get access to their own secrets without being able to see other secrets. It’s possible with templated policies.

First, let’s create a common role in the Kubernetes authentication method that every pod can assume.

  • Authentication Method: Kubernetes
  • Name: k8srole
  • Alias name source: serviceaccount_name
  • Bound service account names: *
  • Bound service account namespaces: *

NOTE: Don’t assign any privileged policies because any service will be able to assume this role. If you want to be more careful, explicitly list the namespaces that run services that should have access in the role.

Learning how to create templates policies

When I first started, I didn’t fully understand how templated policies in Vault worked. There were these parameters that I could use, like identity.entity.id, but it’s not clear how that looks in Kubernetes.

1
2
3
path "database/creds/???" {
  capabilities = ["read"]
}

To figure this out, I launched a pod with this Vault approle, and pulled the token out of /vault/secrets/token. Then used curl to call the API.

1
curl -H 'X-Vault-Token: hvs.CAE[...]' 'https://vault.example.com/v1/auth/token/lookup-self' | jq

That returned:

 1
 2
 3
 4
 5
 6
 7
 8
 9
10
11
12
13
14
15
16
17
18
19
20
21
22
23
24
25
26
27
28
29
30
31
32
33
34
35
36
37
{  
 "request_id": "df26cb1d-8ca1-b53a-be17-1c96c12dd8c2",  
 "lease_id": "",  
 "renewable": false,  
 "lease_duration": 0,  
 "data": {  
   "accessor": "jKE4BZeUR3N03qZMgsQJUtDA",  
   "creation_time": 1729211189,  
   "creation_ttl": 3600,  
   "display_name": "kubernetes-default-my-service-account",  
   "entity_id": "2a22a75d-be11-a77f-9ac4-8fe3cd16f4ee",  
   "expire_time": "2024-10-18T01:26:29.249283537Z",  
   "explicit_max_ttl": 0,  
   "id": "hvs.CAE[...]",  
   "issue_time": "2024-10-18T00:26:29.248036782Z",  
   "last_renewal": "2024-10-18T00:26:29.249283637Z",  
   "last_renewal_time": 1729211189,  
   "meta": {  
     "role": "test",  
     "service_account_name": "my-service-account",  
     "service_account_namespace": "default",  
     "service_account_secret_name": "",  
     "service_account_uid": "61c1afa0-dfa4-4c9f-8eec-7e5ebe0b6904"  
   },  
   "num_uses": 0,  
   "orphan": true,  
   "path": "auth/kubernetes/login",  
   "period": 3600,  
   "policies": [],  
   "renewable": true,  
   "ttl": 3503,  
   "type": "service"  
 },  
 "wrap_info": null,  
 "warnings": null,  
 "auth": null  
}

Then I fetched more details using the data.entity_id parameter:

1
curl -H 'X-Vault-Token: hvs.CAE[...]' https://vault.example.com/v1/identity/entity/id/2a22a75d-be11-a77f-9ac4-8fe3cd16f4ee | jq
 1
 2
 3
 4
 5
 6
 7
 8
 9
10
11
12
13
14
15
16
17
18
19
20
21
22
23
24
25
26
27
28
29
30
31
32
33
34
35
36
37
38
39
40
41
42
43
44
{  
 "request_id": "63e86ba7-39c3-66af-8048-a8c130fe20ab",  
 "lease_id": "",  
 "renewable": false,  
 "lease_duration": 0,  
 "data": {  
   "aliases": [  
     {  
       "canonical_id": "2a22a75d-be11-a77f-9ac4-8fe3cd16f4ee",  
       "creation_time": "2023-11-18T05:27:32.523910476Z",  
       "custom_metadata": null,  
       "id": "88853d50-7780-998b-fb78-c8141ded6a63",  
       "last_update_time": "2023-11-18T05:27:32.523910476Z",  
       "local": false,  
       "merged_from_canonical_ids": null,  
       "metadata": {  
         "service_account_name": "my-service-account",  
         "service_account_namespace": "default",  
         "service_account_secret_name": "",  
         "service_account_uid": "61c1afa0-dfa4-4c9f-8eec-7e5ebe0b6904"  
       },  
       "mount_accessor": "auth_kubernetes_398dc4e7",  
       "mount_path": "auth/kubernetes/",  
       "mount_type": "kubernetes",  
       "name": "61c1afa0-dfa4-4c9f-8eec-7e5ebe0b6904"  
     }  
   ],  
   "creation_time": "2023-11-18T05:27:32.523902982Z",  
   "direct_group_ids": [],  
   "disabled": false,  
   "group_ids": [],  
   "id": "2a22a75d-be11-a77f-9ac4-8fe3cd16f4ee",  
   "inherited_group_ids": [],  
   "last_update_time": "2023-11-18T05:27:32.523902982Z",  
   "merged_entity_ids": null,  
   "metadata": null,  
   "name": "entity_0daf7612",  
   "namespace_id": "root",  
   "policies": []  
 },  
 "wrap_info": null,  
 "warnings": null,  
 "auth": null  
}

Say I want to limit my policy to be able to access secrets named {{namespace}}|{{service_account_name}}, I use these parameters:

  • {[namespace}} = {{identity.entity.aliases.auth_kubernetes_398dc4e7.metadata.service_account_namespace}}. The auth_kubernetes_398dc4e7 is the name of the auth method specified in mount_accessor
  • {{service_account_name = {{identity.entity.aliases.auth_kubernetes_398dc4e7.metadata.service_account_name}}

Assuming I have a database storage end called database, I can grant access by creating a policy:

 1
 2
 3
 4
 5
 6
 7
 8
 9
10
11
12
13
14
15
# Dynamic users
path "database/creds/{{identity.entity.aliases.auth_kubernetes_398dc4e7.metadata.service_account_namespace}}|{{identity.entity.aliases.auth_kubernetes_398dc4e7.metadata.service_account_name}}" {
  capabilities = ["read"]
  allowed_parameters = {
    "password" = []
  }
}

# Static users
path "database/static-creds/{{identity.entity.aliases.auth_kubernetes_398dc4e7.metadata.service_account_namespace}}|{{identity.entity.aliases.auth_kubernetes_398dc4e7.metadata.service_account_name}}" {
  capabilities = ["read"]
  allowed_parameters = {
    "password" = []
  }
}

And if I want to grant read-only access to secrets under by-service/{{namespace}}/{{service_account}}/*

1
2
3
path "by-service/data/{{identity.entity.aliases.auth_kubernetes_398dc4e7.metadata.service_account_namespace}}/{{identity.entity.aliases.auth_kubernetes_398dc4e7.metadata.service_account_name}}/*" {
  capabilities = ["read", "list:]
}

Create a policy with the above directives and name it something like k8s-default-policy. The go back to the Kubernetes role k8srole and add the policy under Generated Token’s Policies.

Using it in an app

How you get an app to use the Vault credentials will differ depending on the app itself.

Using environment variables

For applications that take the password using an environment variable and can’t use a file, I use Vault’s templating system to generate a file called /vault/secrets/env, then source it and invoke the process as normal.

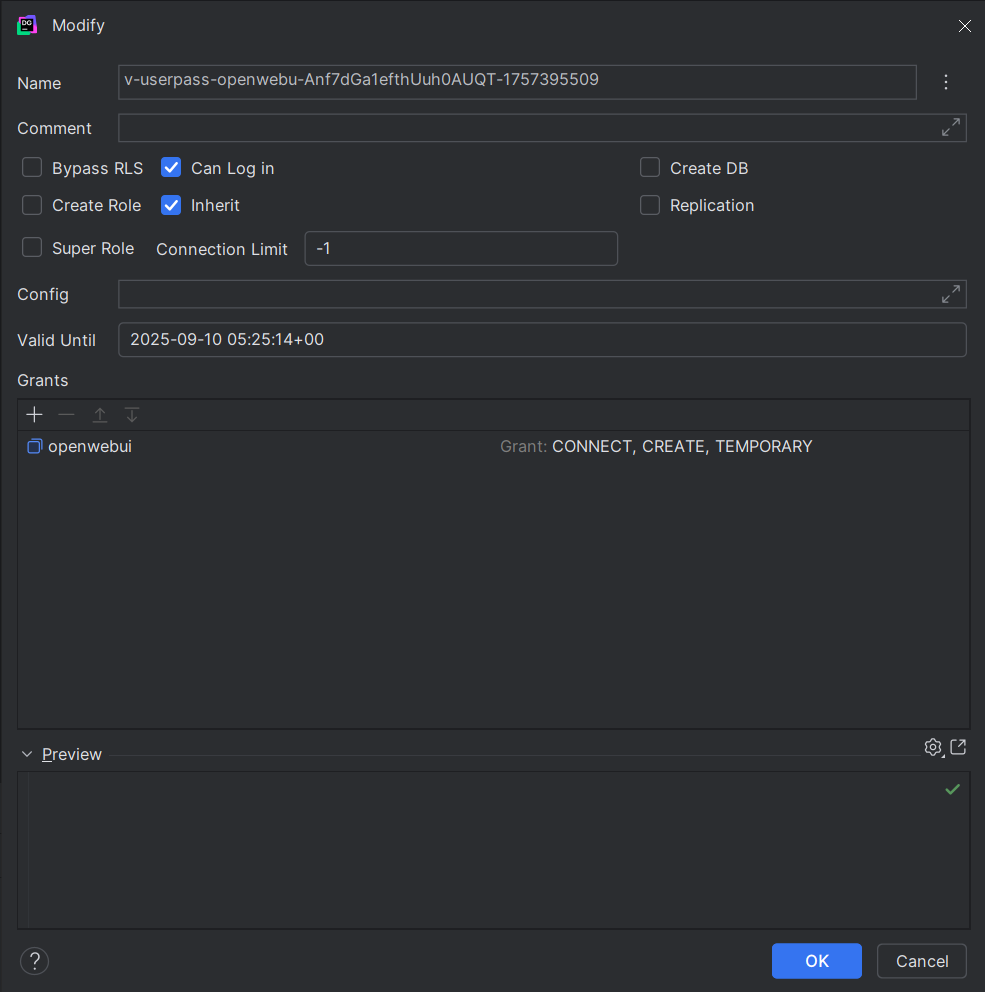
For example, with OpenWebUI, I would do:

 1
 2
 3
 4
 5
 6
 7
 8
 9
10
11
12
13
14
15
16
17
18
19
apiVersion: apps/v1
kind: Deployment
spec:
  template:
    metadata:
      annotations:
        vault.hashicorp.com/agent-inject: 'true'
        vault.hashicorp.com/agent-inject-template-env: >-
          {{- with secret "database/creds/openwebui" -}}
          export DATABASE_URL=postgres://{{ .Data.username }}:{{ .Data.password
          }}@postgres.datastore.svc.cluster.local.:5432/openwebui?sslmode=disable
          {{- end }}
    spec:
      containers:
        - command:
            - /bin/sh
          args:
            - '-c'
            - [ -f /vault/secrets/env ] && . /vault/secrets/env && /app/backend/start.sh

This generates a file that looks like:

1
export DATABASE_URL=postgres://v-kubernet-openwebu-[...]:[password]@postgres.datastore.svc.cluster.local.:5432/openwebui?sslmode=disable

Using files

Files are the easiest way. For example, Authelia can be configured using:

 1
 2
 3
 4
 5
 6
 7
 8
 9
10
11
12
13
spec:
  template:
    metadata:
      annotations:
        vault.hashicorp.com/agent-inject: 'true'
        vault.hashicorp.com/agent-inject-template-db-password: >-
          {{- with secret "database/static-creds/authelia" -}}{{ .Data.password
          }}{{- end -}}
    spec:
      containers:
        - env:
            - name: AUTHELIA_STORAGE_POSTGRES_PASSWORD_FILE
              value: /vault/secrets/db-password

Conclusion

Thus far, I’ve create a reusable Vault role and Vault policy that that any Kubernetes pod with a service account can assume and login to Vault. It will only have access to secrets that match it’s name. Now it’s easy to onboard new services and grant secure access.

Copyright - All Rights Reserved

Comments

To give feedback, send an email to adam [at] this website url.

Donate

If you've found these posts helpful and would like to support this work directly, your contribution would be appreciated and enable me to dedicate more time to creating future posts. Thank you for joining me!

Donate to my blog