I recently setup a Kubernetes cluster home lab and wanted to do it the hard-way and share it with you. I setup a home lab so I could run my smart home software and learn more about different Kubernetes networking technologies.
This blog post is broken up into several sections. Feel free to skip directly to the section that applies to you.
When I started I had a few things already:
- I was already using Rancher as a UI to manage my Kubernetes clusters on my dedicated servers
- A Windows computer that can run K8s
- A Ubiquiti EdgeRouter 12 acting as my home network’s router
Requirements
I wanted a fully flat network, that means no packet encapsulation. Packet encapsulation tunnels IP packets inside of other IP packets and creates a separate IP network that runs on-top of my existing network.) I wanted all nodes, pods, and services to be fully routable on my home network. Additionally, I had several Sonos speakers and other smart-home devices that I wanted to be control from my k8s cluster which required pods that ran on the same IP network.
Alternatives
Docker Desktop and WSL2 are both great for development Docker projects where you use the Docker CLI, but when you try to run Kubernetes you’ll quickly run into networking issues. WSL2 and Docker Desktop can’t expose services to the rest of your network very easily because they use NAT’d network adapters. (GitHub microsoft/WSL#4150) This means you can’t expose nodes or pods as devices on the network, they will always be NAT’d to the host’s IP address. This failed my requirement.
Cluster Setup
What operating system should we use to run the nodes? There’s a few different options, like Flatcar Linux, K3OS, etc.
NOTE: At the time of writing this blog post, I went with RancherOS just because I was vaguely familiar with it, since then I’ve learned that RancherOS is no-longer maintained and new replacements are coming. In a future post, I’ll replace this one with a new OS recommendation.
Hyper-V VM Setup
I first learned about this strategy from this blog post. While most of the steps are the same, I’m going to include a few changes that I did.
We’re going to be using Hyper-V since it comes with Windows 10 and I’m already using it for Docker Desktop/WSL2. We’re also going to use RancherOS as our base image. RancherOS is a lightweight Linux base OS that comes prepared with Docker.
- Download the latest version of RancherOS from here called rancheros-hyperv.iso
- Open the Hyper-V Manager
- Open the Virtual Switch Manager
- Create a new external virtual switch
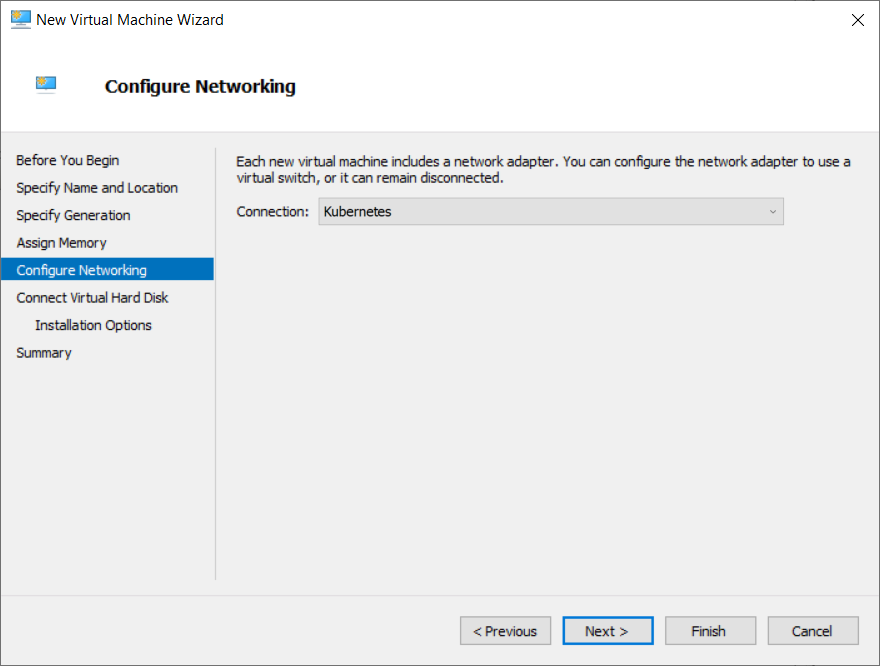
- Associate it with your network adapter. Here I’m using my Ethernet adapter
- Make sure to check Allow management operating system to share this network adapter so that you can continue using the internet on this machine.

- Create a new virtual machine.

- Use Generation 1 - RancherOS didn’t support Gen2
- Give enough memory to run all of your software. I’d recommend at least 2-3GB

- Use the switch you created earlier
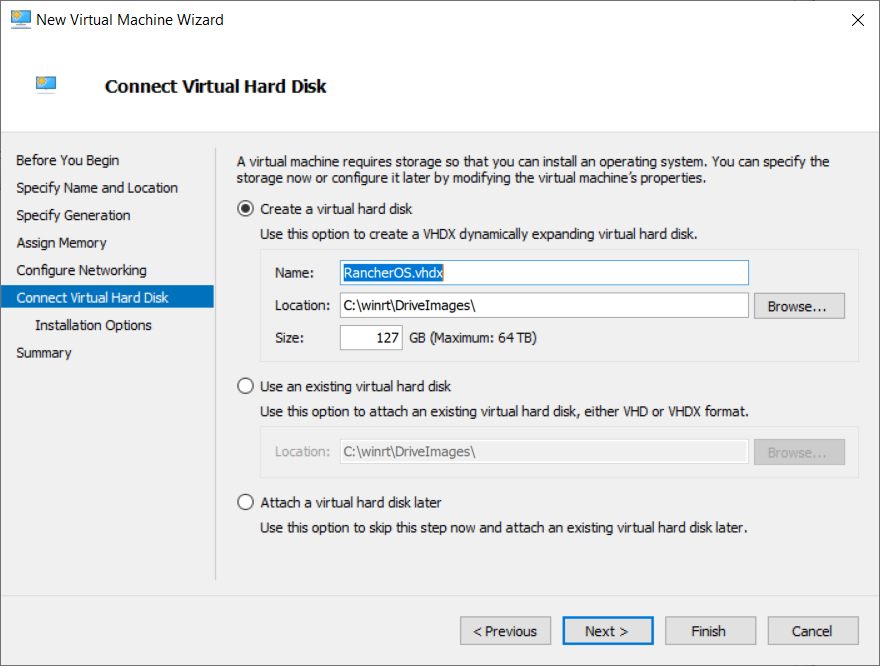
- Create a virtual hard disk with enough space
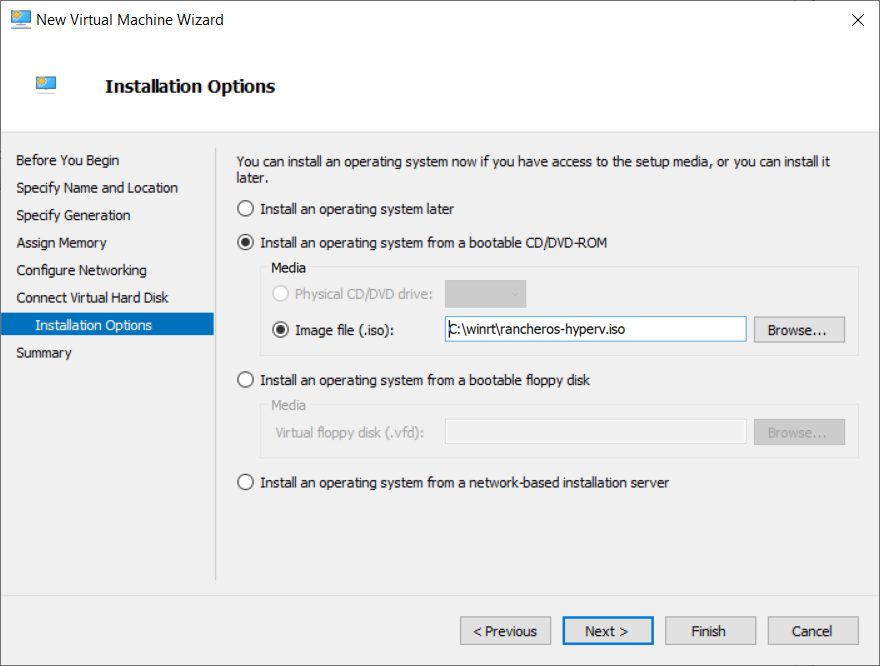
- Point the CD “drive” to the ISO you downloaded earlier
Install the OS
Start the virtual machine.
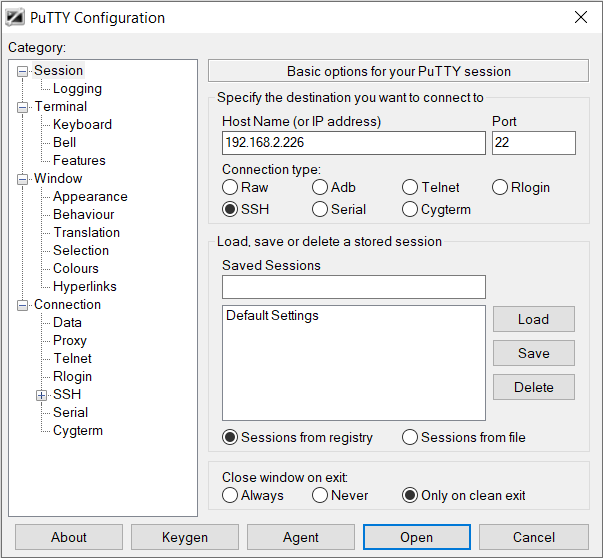
It’s a little hard to work with Rancher inside the Hyper-V console, so let’s create a password so we can login using SSH.
| |
Use PuTTY to login.
Create a new config file so we can install RancherOS to the hard drive:
| |
Insert the following content and then save it. This will enable you to SSH into the host without using passwords.
| |
Now install to the disk. This will copy the files from the virtual ISO onto the hard drive so you can keep persistent data:
| |
Eject the install disk by clicking Media (in the menu bar), DVD Drive, Eject rancheros-hyperv.iso
Reboot the VM
Setup the Kubernetes cluster
Now it’s time to install K8s.
- Open up your Rancher UI
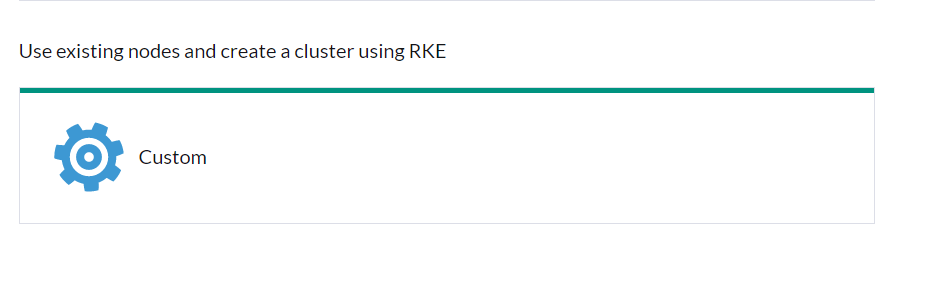
- Create a new cluster. It should be a custom cluster using existing nodes
- Give the cluster a name, then under Cluster Options click Edit as YAML
- Make sure to update the following parameters
| |
- Make sure to check etcd, Control Plane, and Worker.
- Rancher will give you a docker run command. Run this in your RancherOS install and let it initialize the cluster.
- The cluster will mostly initialize, but several pods will get stuck pending because there’s no CNI plugin installed. This is okay. Once Rancher gives you the option to run commands, move forward
Note: Several weeks into running this I rebooted the VM and found out that only certain directories on the RancherOS machine are preserved across reboots. The following directories are preserved:
- /home
- /opt
- /var/lib/kubelet
If you use bind mounts, I’d recommend using something like /home/docker/{container}
At this point, I now have a single Linux node that has a basic Kubernetes cluster configured (but not yet working) installed on a Hyper-V VM. Next I’ll configure the network using the CNI.
